One liberation is editing them.
Recently I acquired photoshop to edit photos. I have used other image manipulation programs before, however when I opened up photoshop I realised I had no idea how to use it properly.
So I also bought a couple of magazines with fun tutorials, and heck it is awesome.
Below I will demonstrate what I have learned. All original photos were taken by me at some point in my lifetime.
First was an HDR effect. So I chose this photo I took in Singapore to work with:

After applying some layers and filters as per the exact instructions of the magazine, I ended up with this:

I wasn't really that attracted to the final result, so I decided to grab what I had learned from the tutorial and try the same kind of effect with another photo without looking at the tutorial.
I chose the below photo that I took in New Zealand to work with:


I think this subject suits the effect much more than the first photo I chose. I like how the contrast and colours are enhanced.
I felt like I was on a roll, so I continued onto the next lesson. It was about highlighting colours in an image. I couldn't quite follow the tutorial, but I managed to understand the concept, so I did the below.
I chose the following image I took in Perth. I remember trying to convey something with the image at the time I was taking it, but couldn't get it to show what I was looking at.
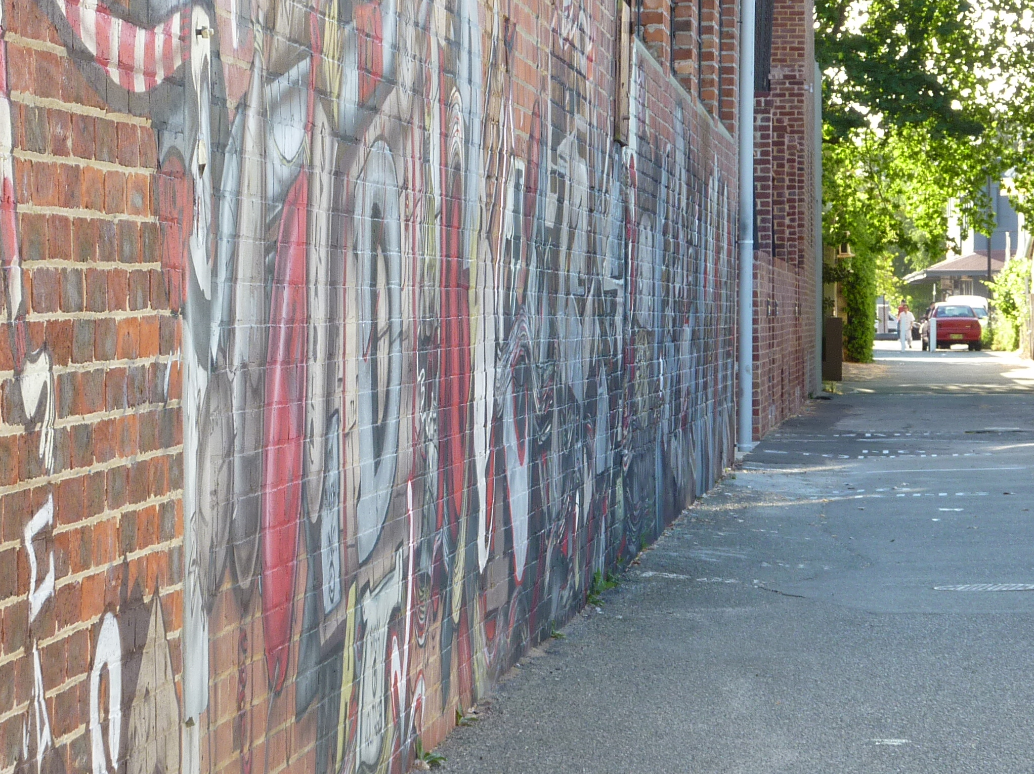
With the tutorial I was able transform it into something I was trying to convey. I was able to move the focus on the car and the graffiti on the wall at the same time, which is what caught my attention at time the photo was taken.

Next tutorial was about mixing two photos together. The tutorial was very hard to follow and I am pretty sure some steps were missed because I didn't know what or where to click in the program. It was a crap tutorial. However, just with the above I learned the concept and tried to apply it my own way.
I chose the following two photos I took in New Zealand:


I then merged them together to create the misty background with the house in the foreground.

Next tutorial was to create a vintage effect.
I followed the tutorials instructions in full with the following photo I also took while in New Zealand of Mount Teranaki:

After following all of the instructions I was left with this:

I chose the following photo of a pony I spotted in New Zealand:


I love it! I think I chose the right photo and all the filters were perfect (after a lot of trial and error).
I then decided to create a rounded edge effect so it looks more like an old photo format.
Photoshop... so many possibilities... so much to learn!
No comments:
Post a Comment